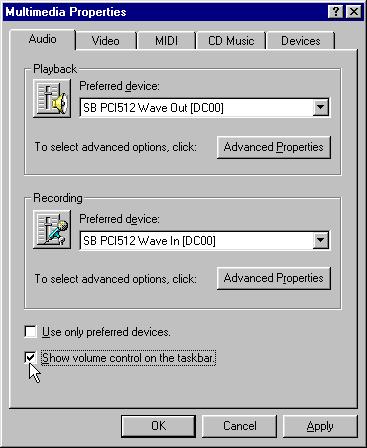
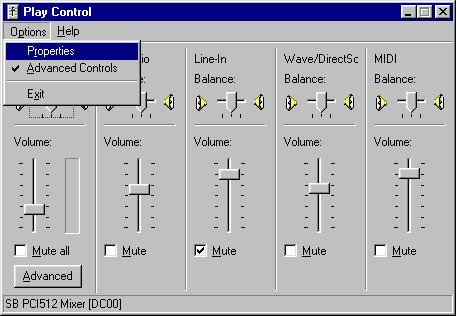
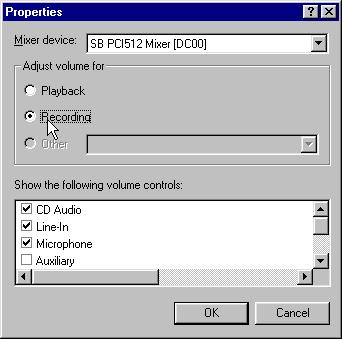
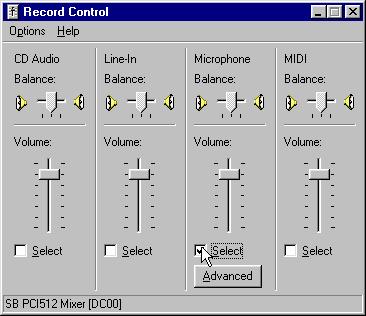
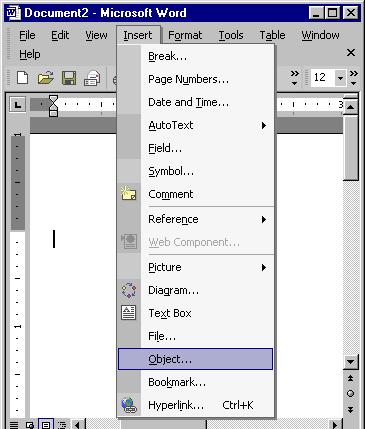
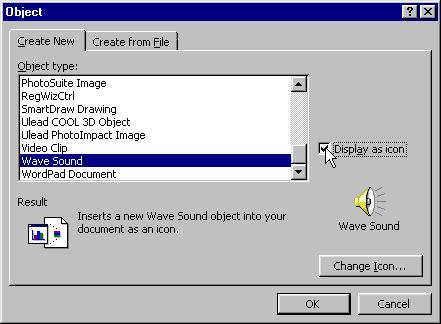
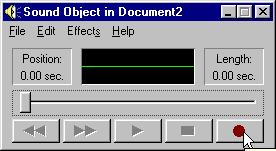
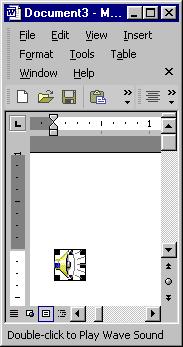
ADD YOUR VOICE TO A DOCUMENT Note: In order to do this you must have a microphone hooked up and use either Microsoft Word or the WordPad program that comes with Windows. Do you want to add your voice to a document? It's something that you can do to make a document more personal. Step #1 - First you have to ensure your microphone is set up to record. Here's how: 1. Press Start / Settings / Control Panel / Multimedia. 2. Press show volume control on taskbar. 3. Press Apply, then OK. 4. Now on the taskbar you will see a little speaker icon near the clock. Double mouse click on it. 5. On the options menu click Properties. 6. Click Recording, (make sure there is a check in the microphone box) then OK. 7. Select Microphone and adjust the volume for the microphone with the slider bar. 8. Close the Volume taskbar. Step #2 - Now you are ready to insert your voice into a text document. Here's how: 1. Open either Microsoft Word or WordPad. 2. Select the spot in the document where you want to insert the audio. 3. On the Word or WordPad taskbar, click Insert. 4. Choose Object. 5. Scroll down to Wave Sound and select it. Also make sure that the option to Display as Icon is selected (on the right). Press OK. 6. This will activate the Windows Sound Recorder Program. 7. Press the large red button (record) and speak the message you want to insert into the document. 8. Once done, close the Windows Sound Recorder Program. An icon that looks like a speaker will be displayed in the document. 9. Now, to play it, double left mouse click on it. |

Back To General Information |
